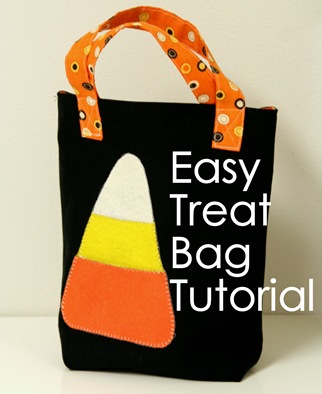
I love Halloween, it might just be my favorite holiday. Probably because I have a sweet tooth like no other….thus the need for a treat bag for my 2 ½ year old to fill full of candy for me to eat. Anyways, this is a simple lined tote bag with a boxed bottom, it took me about 40 min. to complete and cost about 5 bucks. It is toddler sized, about 11" by 13", but I’ll give you tips on how to easily make it bigger. Simple totes like this are great for library bags and just about anything else you want to stuff in a bag, but in this case it will hopefully be full of candy….preferably Milky Ways.
You’ll need a ½ yard of exterior fabric (I used home weight fabric to make it stable) and a ½ yard interior fabric. If you’re making this larger than my toddler sized version you might need an ⅛ yard for the handle, but you’ll probably have enough left over to make it from your lining fabric.
If your going to appliqué something on the outside you’ll need those supplies too, I used felt and was going to use embroidery floss….but didn’t.

Cut 2 rectangles each of your exterior fabric and lining fabric. For my small toddler size I cut my rectangles 12" by 15", if you want a bigger tote I would add four or five inches to both sides.
For the straps you’ll cut 2 rectangles 5" by 16", (or 5" by 21" for a larger tote) I cut my straps from my leftover lining fabric.
**** If you want to appliqué something on the outside of your bag, now is a good time to do it. See the bottom of the tutorial for more details.

Sew around the sides and bottom of the exterior using a ¼" seam allowance. Press side seams open.

To box the corners, I put my hand in the bag at the corner and simply pinch the side and bottom seams together, its confusing to look at but once you try it you’ll see what I mean. Try to line up your side and bottom seam making a nice triangle.

Stick a pin about 2” in from the corner and repeat on the opposite corner.

Now sew where you placed that pin, sewing a straight line perpendicular to the corner. Then cut the extra off. You now will have a nice boxed bottom to your bag, easy as pie.

Now do the same with your lining, EXCEPT when you are sewing around the sides and bottom of the rectangles, leave a 4-5" opening at the bottom. This is how you will turn the bag right side out after the exterior and lining are sewn together. Box the corners of your lining just like you did with the exterior.

Turn your lining right side out and place into your exterior that is wrong side out. Right sides should be facing each other.

Match up the top side seams and edges, pin, and sew with a ½" seam allowance around the top of the bag.

Turn the bag right side out through the hole in the bottom of the lining. It should look like the picture below. Sew the hole closed at the bottom of the lining.

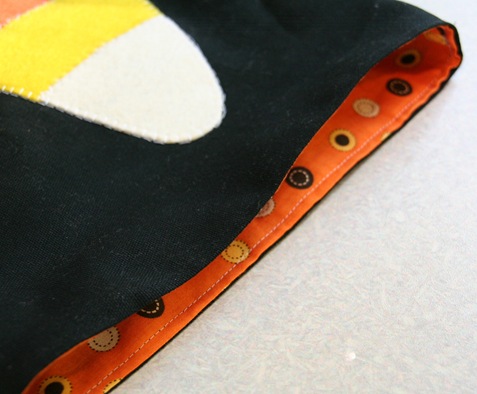
Place the lining down into the bag, iron your top edges, and topstitch about an ⅛" or so from the edge.
To make the straps take your 5" by 16" pieces (or 5" by 21" for larger bags) and follow pictures below.
1. Iron edges ¼" in on both ends. Fold strap in half and iron a crease in the middle.
2. Iron both edges into the crease.
3. Fold over creased edges to hide raw edges and sew around all sides of each strip as close to the edge as possible.
4. Attach to the bag with a pin about 2" from each side and 2" down. You can eyeball the first side.

Sew the strap on to the bag along all sides and crossing in the middle for strength.

And there you have it, a perfectly sized tote bag for your little one to fill full of candy.


*** Appliqué instructions***
For the appliqué on this bag I used felt (the cheap, iron friendly kind you buy in sheets), Heat’n Bond appliqué material, and my sewing machines blanket stitch. I followed the instructions on the Heat’n Bond by attaching my felt to the appliqué material, then drawing my picture with a pencil on the felt (or back if you want) and cutting it out. You then peel off the back and place it on the fabric where you want. Its easiest to do this at the very beginning when you’ve just cut your exterior fabric out, but make sure to steer clear of the edges at least 1". The appliqué material doesn’t attach to the felt very well, but good enough so you can get it sewn on. Then just sew around your appliqué with a blanket or zig zag stitch to make it permanent.


Heather
That is sooo awesome! i love it! I will have to make some of those.
Good job!
jodi @ Pleasant Home
Cute bag! And cute fabric. ! ;O)
Blue Is Bleu
I bought some of that orange fabric last week... it's so cute! I might make my niece one of these little bags :)
Jackie
Cute! Nice tutorial. Thanks!
Tracy Suzanne
Hi Allison. Such a cute bag. And your tutorial was great, clear and easy to follow. Thanks for sharing...Tracy :)
Lisa
I love this! THANKS!
Leslie
this is so cute and so much fun...if i could get my kids to part with their big plastic pumpkin head buckets this would be a great option
Robin
very cute! thanks!
Heather
Love this idea - thanks for the great tutorial!
Rachel H.
It's totally cute! You never cease to amaze me!
Cindy
Super cute! I'm a sucker for tote bags...and snickers. If you get any of those, send them my way. My kids don't share anymore.
Emily
My kids have used fabric treat bags for the past 4 or so years. Genius, I tell you! I resist the urge every year to make them new ones only because we don't need 15 Halloween treat bags! :)
Aimee
Super cute! Thanks for sharing!!
Chris
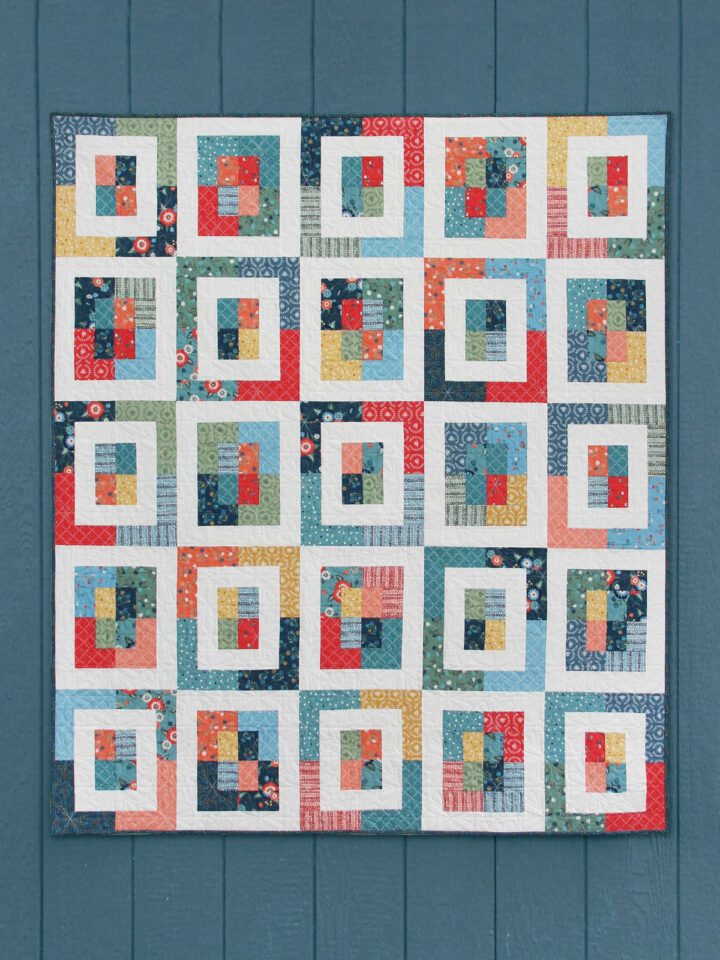
I have loved the ideas you share...I still am hoping to make your orange quilt soon! Please accept the "One Lovely Blog" award. Details on my blog at pickupsomecreativity.blogspot.com
Best wishes!
Pink Little Ladies
Cute bag, I love making little tote bags.
Ariel
YAY! I was JUST planning up some felt treat bags for my little guy's birthday party on Halloween. Love that you are always sharing great ideas!
Ylime
HI!
This was such a great tute. I just had to include it in a post on kid's halloween costume tutorials on my blog, The Handmade Experiment. http://emilyflippinmaruna.wordpress.com/2009/10/05/tuesday-tutorials-the-halloween-costume-addition/
Best wishes and happy holidays!
Emily
cre8tivelle
Fabulous little treat bag! Excellent tutorial!
Katy and Landon
-Sigh- Great. Now I have to hurry up and make this before Halloween! Of course, you could always just make another and send it to me....;) Otherwise, it seems that even I could handle this project! Thanks for the tutorial!
upstateLisa
very cute and I love the orange dot fabric!
Karen
....very cute....I'm going to try it right now!
Jane
I made one last night!
IT is adorable.
I used fabric and not felt for the applique and it worked fine.
I think I made my applique candy corn bigger than your example, so that when I centered it on my fabric and then made the corners, the applique image is then sitting on the very edge of the bag. So, I just wanted to stress about putting the applique up high enough so that the image doesn't end up under the bag when you make the bottom.
Adrianne
Great tutorial!! Yumm Milky Ways are my favorite too.
metrosupialdesigns
Oh adding this to my tutorial page. Cute fabric.
Jane
Thank you for this tutorial. I sewed four bags for the young trick or treaters in my life!
http://janeswanson.blogspot.com/2009/10/candy-bags.html
teri7304
I am just beginning to sew - still working on straight lines - and I found your tutorial linked to a friend's blog and gave it a try. I made a tote! I am amazed that I actually made something that turned into a tote! Great directions!
Worknprogress
Thank you sooo much for such an easy, yet practical sewing pattern!
Much love to you can be found at knittywhit.blogspot.com, as i attribute all my success with this project to your tutourial.
Best wishes and i hope you and your family have a happy Halloween!
Sincerely,
Whit
ideku handmade
thanks :)
April
Thanks...I love bags and tote bag is a very useful one if one needs to go casual with lots of stuff to carry or nothing...nice and easy steps too.
blanket
ozzypip
I have been looking for a bag pattern and this one looks just perfect for what I want - thanks.
cupcakeliz
I was gonna just make a simple 'pillowcase' bag, but now that I see how easy the corners are, I am making some of these for my daughters this year! Gonna put the straps inbetween the fabric though and make it reversible! Multi-use all the way!!! :) Thanks for the instructions!
RubyRed
I made two of these for my grandkids! They are the cutest! Hope you don't mind but I posted a link back to here on my blog so people would know where I got the tutorial!
http://www.kzembroidery.com/wordpress/
Farrah
I loved how this turned out - I put a smaller candy corn on a pocket and placed the strap between the layers instead (before sewing the tops together)... I used an applique boo! as the other side. I think they're adorable. Sure beats the plastic pumpkin we used last year.
SpartanGirl
This is adorable!! Thank you so much for sharing!
I'm going to link this in my Felt Feature this week.
Liz
I love this! I can't wait to get started on some for my kids! Thanks for sharing. I will be featuring you on ziggycrafts.blogspot.com
Kristina
Great tutorial! Thanks! I have just enough fabric left over from making my kids' costumes to make them matching bags with this pattern. Awesome job, Mama!
Neoma
WOW What a great tutorial! I've been looking for a simple tutorial for a bag, now I've found it! Thanks!
/Mari
Kimberly
I'm pretty spazzy with a sewing machine, but my bag turned out great! Thanks for the awesome pattern!
Kim
luvly
I used this pattern to make a little bag for my niece - it worked out really well - take a look at my pictures: http://luvly-madewithlove.blogspot.com/
Thanks you! Nancy
Kassandra @ Coffee and their Kisses
Thanks so much for this awesome tut. It's the only one I found that has clear instructions and great photos. I've made 2 out of the 6 I have to make so far. Thank you so much! You saved the day lol!
Katie
Wow! First of all, thank you so much! This tutorial inspired me to make some adorable tote bags as gifts. I put my own spin on them, and your pictures really helped. Thanks again!
Melissa
Great tutorial! I did some alterations such as sewing the straps in between the interior and exterior fabrics. I used a Halloween Hello Kitty fabric and can't wait to make more!
The Heki Family
THanks for the great tutorial. I am so excited to make these for my 5 kiddos. I bought some halloween material to make table runner but I think I will use it instead for trick or treat totes.
Kellie
This was a great tutorial and was very easy to both follow and understand. My bag came out perfect the first time. I added some felt embellishments and buttons and scrapped together Halloween fabrics for a funky look. I'm making one more this weekend. Wish we could share pics. I immited the extra sewing to give the bag a squared bottom. Still looks great. Thanks so much for sharing!!
Mel
I'm new to sewing and LOVED your tutorial. One bag down...three more to make! Thanks!!!
DMS
This has been an amazing tutorial and so easy for a beginner sewer. I made trick or treat bags for my girls and my two nieces last year, gift bags for a couple of friends and now I'm making school themed bags for teachers gifts. So thank you thank you thank you!! :)
Theresa A
That is such a cute idea. I love the candy corn on the front. Thank you for the great tutorial.
: 0 ) Theresa (Capri + 3)
greenpalm
These would make wonderful Christmas or birthday gift bags as well. Or change the shape a little and put a bottle of wine in it. Very nice!
ga447
I had a tutorial for a tote and I couldn't find it but I am so glad I found yours. The tote came out super, it is for a retirement home.
LauraMac
Thank you for this fun and easy tutorial. Just whipped one up for my grandson. The
Ossibilities are endless!😉