I promise I didn’t forget to share how to make this little quilt…I think it’s the only thing I didn’t forget last month! ;) My brain is fried from moving and spray painting and kid entertaining. Oiy.
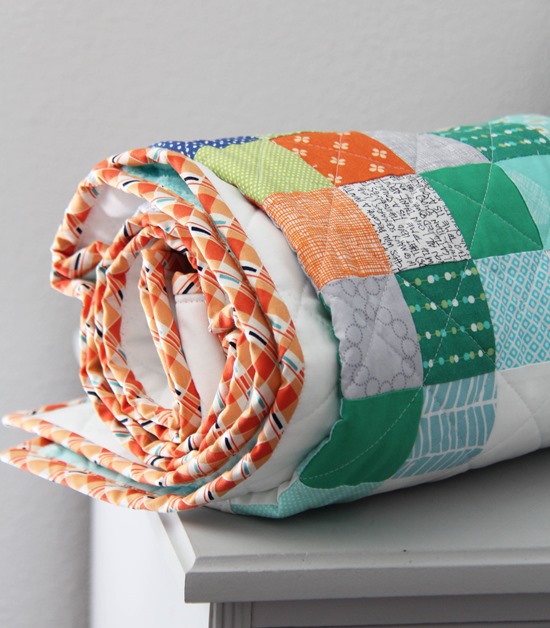
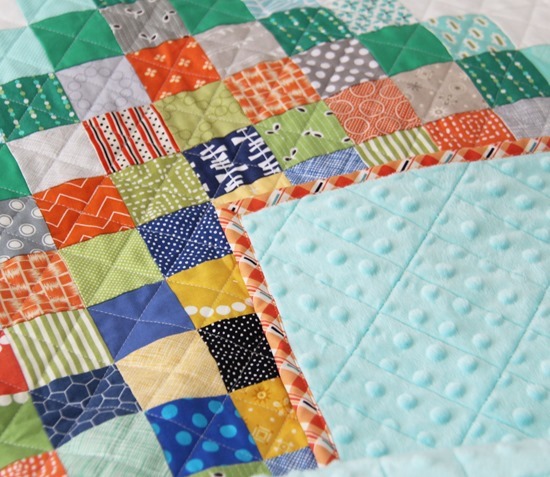
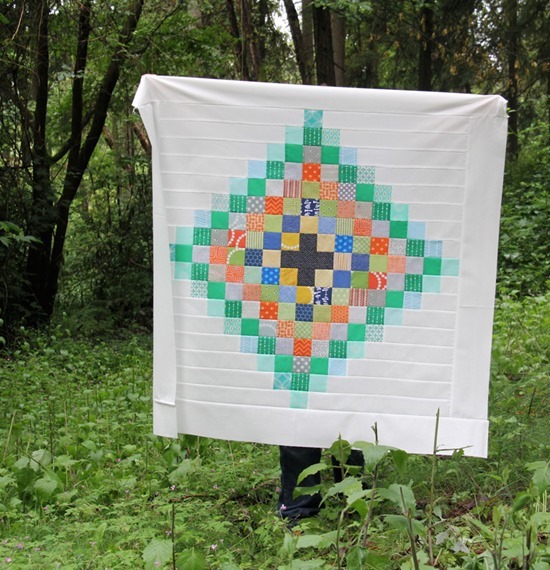
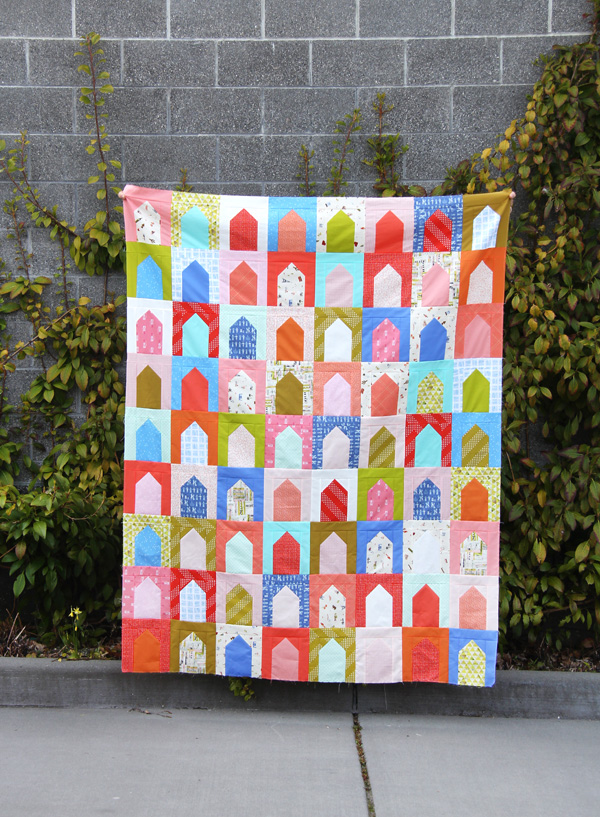
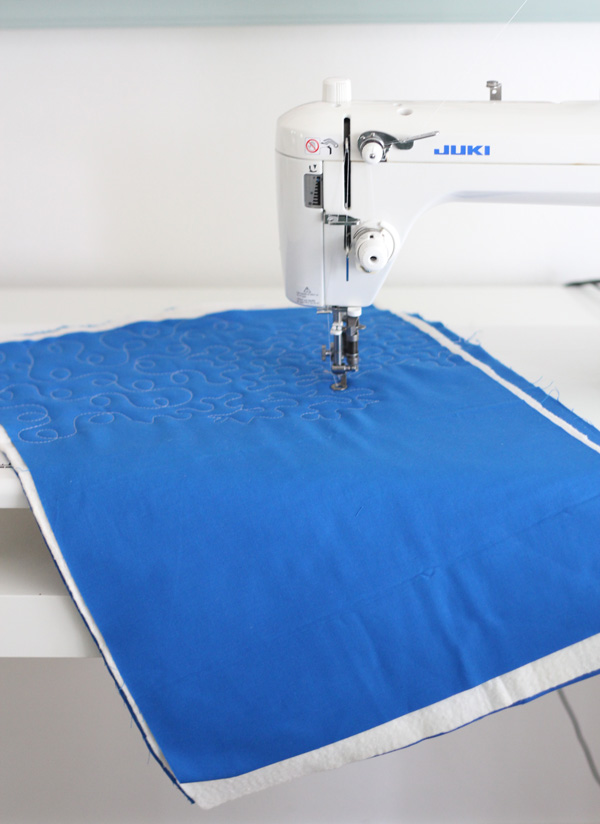
I absolutely love how this quilt turned out. I quilted it with straight lines using a super soft minky on the back, and machine bound it using my favorite method.
You’ll need these white strips and print squares for the quilt center:

Lay out your squares and strips into rows, then sew the strips and squares together to make the 17 rows. Label these and be extra organized when you’re sewing these together…or else you might sew them backwards and have to unpick 7 rows before you realize…ahem.
A note about pressing: I pressed the seams of my rows in alternating directions…so my seams matched nice and neat and it went together easily!
Sew the rows together and press everything nice and flat.
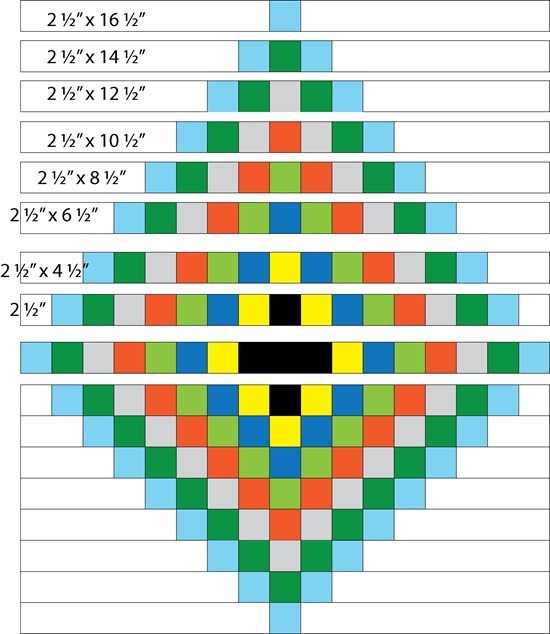
Cut your border strips if you’re a border kind of person…and sew them on, sides first, then the top/bottom.
![Chippewa Layout_thumb[1]](data:image/svg+xml,%3Csvg%20xmlns='http://www.w3.org/2000/svg'%20viewBox='0%200%20550%20550'%3E%3C/svg%3E)
![Chippewa Layout_thumb[1]](jpg/chippewa-layout_thumb1.jpg)
Press it and voilà! Now go dive into that scrap bin!

Jodi
It's lovely, and thanks so much for the tute, borders and all!
Ada Kopitopoulou
Lovely quilt!
Henry's Shed
Beautiful! I love it! Thanks for the tutorial :)
Karen x
Maureen Cracknell Handmade
I love this!!
Rhona45
Love this one, thanks so much for the tutorial, I will make this one for sure!
Heidi
Love the quilting on this one! Thanks for the tutorial; it really is so generous of you.
-julia
Love it! I'm currently quilting a version of your strip and flip using diagonal lines like this. And I'm relieve to see that yours aren't perfectly spaced but still lovely. I've ripped a lot of seems the last few days!
Di~
Allison, I'm curious, did you intentionally leave one not quilted? Great quilt!
allison
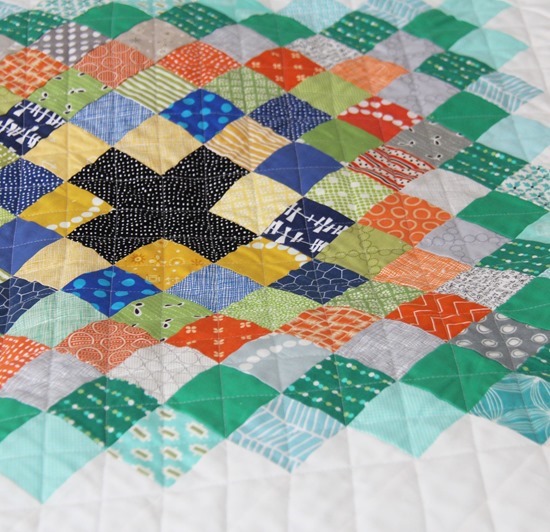
Do you mean the one extra line of quilting in there Di? The photo of the quilt top is before finishing. :)
CJ
Great quilt! Thank you for the tutorial. :)
Colleen Potter
I don't know how you get it all done ! Thanks so much for the tutorial - what a cute quilt !
Anita
Love how it uses up scraps! Thanks for the tutorial!
u keep sewing
Cute quilt. Great colors.
Thanks for the tutorial.
margaret
very nice and thanks for the instructions
Melissa @ My Recent Favorite Books
Love the colors in this quilt. =)
A Quilter's Mission
Thank you for sharing this tut with us! I love this soft quilt.
Martha
I love this quilt. Thank you for the tutorial. I can't wait to make one.
Nancy Reinke
Thank you so much for sharing the tutorial, Allison. You've created a very pretty quilt. Great way to use up scraps. I'm pinning for later. Blessings, Nancy
Margo
this is so pretty and I have so many scraps! Your directions look simple, too. I have never followed a pattern for a quilt before, but just might try yours first. thanks again for sharing.
Addie
Love the binding!
Janet S
So cute! do you eyeball your diagonal lines or mark it some way?
OPQuilt
Thanks for the tutorial--but better yet, thanks for sending out another fabulous Cluck Cluck Sew Design into the world. Love them!
Elizabeth
✾Jamie Lee Cooley✾
Thanks for sharing this tutorial! I'm definitely going to make this for 100 quilts for kids. I just cut up all my scraps and hopefully I can come up with enough squares of each color, if not, I'm going to make it even more scrappy!
✾Jamie Lee Cooley✾
Thanks for sharing this tutorial! I'm definitely going to make this for 100 quilts for kids. I just cut up all my scraps and hopefully I can come up with enough squares of each color, if not, I'm going to make it even more scrappy!
Sharon
My favorite part is that orange print for the binding!
Rebecca Grace
Super cute quilt, Allison! I love Minky backing for kids' quilts. They are so soft and snuggly. Have you shared your methods for Minky in another blog post? I'm curious about how other quilters deal with it. In the past, I've spray basted with 505 spray adhesive when I layer a Minky backed quilt and then pin basted as I would for a cotton backed quilt, and that has worked to keep the Minky stretch under control throughout quilting. But I want to make some Project Linus quilts with Minky backing and the guidelines state that the quilt needs to be "free of chemicals" since many Linus quilts go to hospitals where kids may have sensitivity. For the Minky quilts I've made as gifts, I just wash the quilt as the final step before gifting it and it has been fine, but the Linus rules say that "washing sometimes makes the problem worse" and I would hate to donate a quilt that made a sick child feel sicker! Do you have a Minky method that works for you, WITHOUT using chemical sprays?
allison
Hi Rebecca! I rarely use the spray adhesive, even when using minky. If it's a large quilt then I use the spray, but on a baby quilt I've found there's usually no need if I pin it really well. I use double the pins, and make my stitch length a little longer and watch to make sure it's not pulling at all, and I've never had a problem. Sometimes I'll have some pulling here and there slightly, but not enough that it would be noticeable to someone else! After I baste with pins I always sew around the edges of the quilt all the way around to keep them from shifting while quilting, that has helped too. Good luck! -Allison
Karen Propes
Thanks for sharing, I love this quilt. The tutorial is awesome and all the work is done except the cutting, sewing, and quilting. I can' wait to start on it.
Elisabeth DeMoo
I love this.
Christie
Just found your blog and loving all of your posts. Would love to make each and every one of your quilts they are all so cute and "sew-able". Will be following you from now on. HUGS... and stitches
Jan
Delightful.
Emma
Just wondering, how much white material did you use? was it an entire jelly roll? I'm one of the people that buys discount yardage and does my own strips, so I need to know how much for my grandson's quilt...
Allison
Hi Emma! To be safe I'd say around 10 - 2 1/2" strips, and a half yard for the borders. So 1 1/4 yards would be about right. :)
Heidi Nutter
Can you please tell me how to change the dimensions to make a Queen size quilt. Love the pattern.
Johnnie
This is such a great pattern to use scraps. Am looking for a baby quilt pattern to use some scraps I have and this would be perfect!
Heidi Nutter
The rectangle in the middle has to be 7 1/2 inches for everything to make an even row. making mine with all reds in middle , greys and darker grey to black
on the outside. Fun quilt
Allison
No the instructions are correct Heidi, the rectangle should be 6 1/2" , it lines up with the 3 squares above and below it that are 2 1/2" minus one inch for the two seam allowances. :)